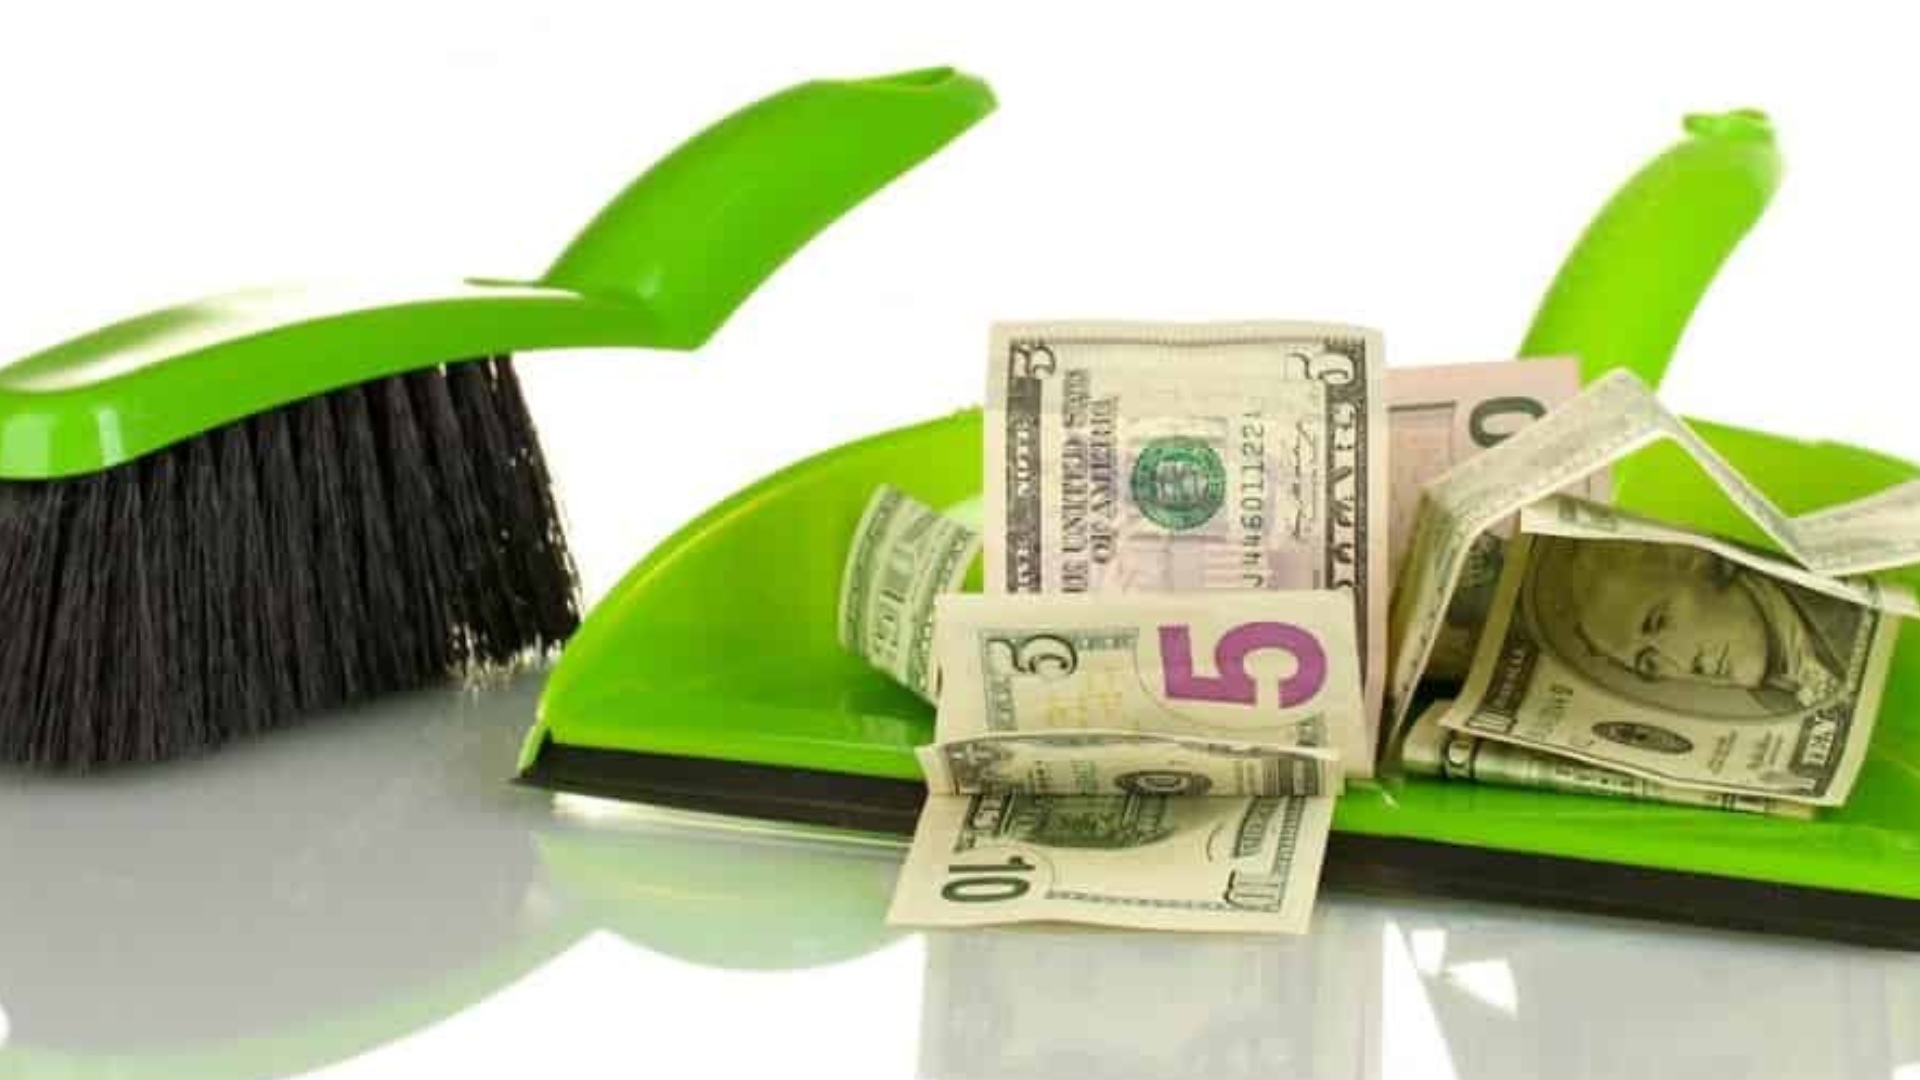
End of Lease Cleaning: The Do’s and Don’ts play a crucial role as your lease comes to an end. It’s essential to leave your rental property in the best possible condition to ensure a successful transition and maintain a positive relationship with your landlord. This process can be complex, given the many factors and areas to consider.
End of lease cleaning can be a daunting task, but it’s essential to ensure that you get your security deposit back. To make the process smoother, it’s crucial to know the do’s and don’ts of end of lease cleaning. Firstly, do make a checklist of all the cleaning tasks that need to be done, including dusting, vacuuming, and wiping down surfaces.
This guide will explore the key do’s and don’ts of end-of-lease cleaning, providing valuable insight into how you can navigate this crucial task effectively, minimize stress, and increase your chances of receiving your full security deposit back.
“Do’s” Of End Of Lease Cleaning
My list of Do’s includes:
A. Plan ahead
Create a cleaning checklist:
Outline all the tasks and areas that need attention in your rental property. This will help you stay organized and ensure that you don’t miss any crucial spots.
Schedule sufficient time for thorough cleaning:
Allocate enough time for each task on your checklist. Avoid rushing the process, as this can lead to subpar results and potential disputes with your landlord.
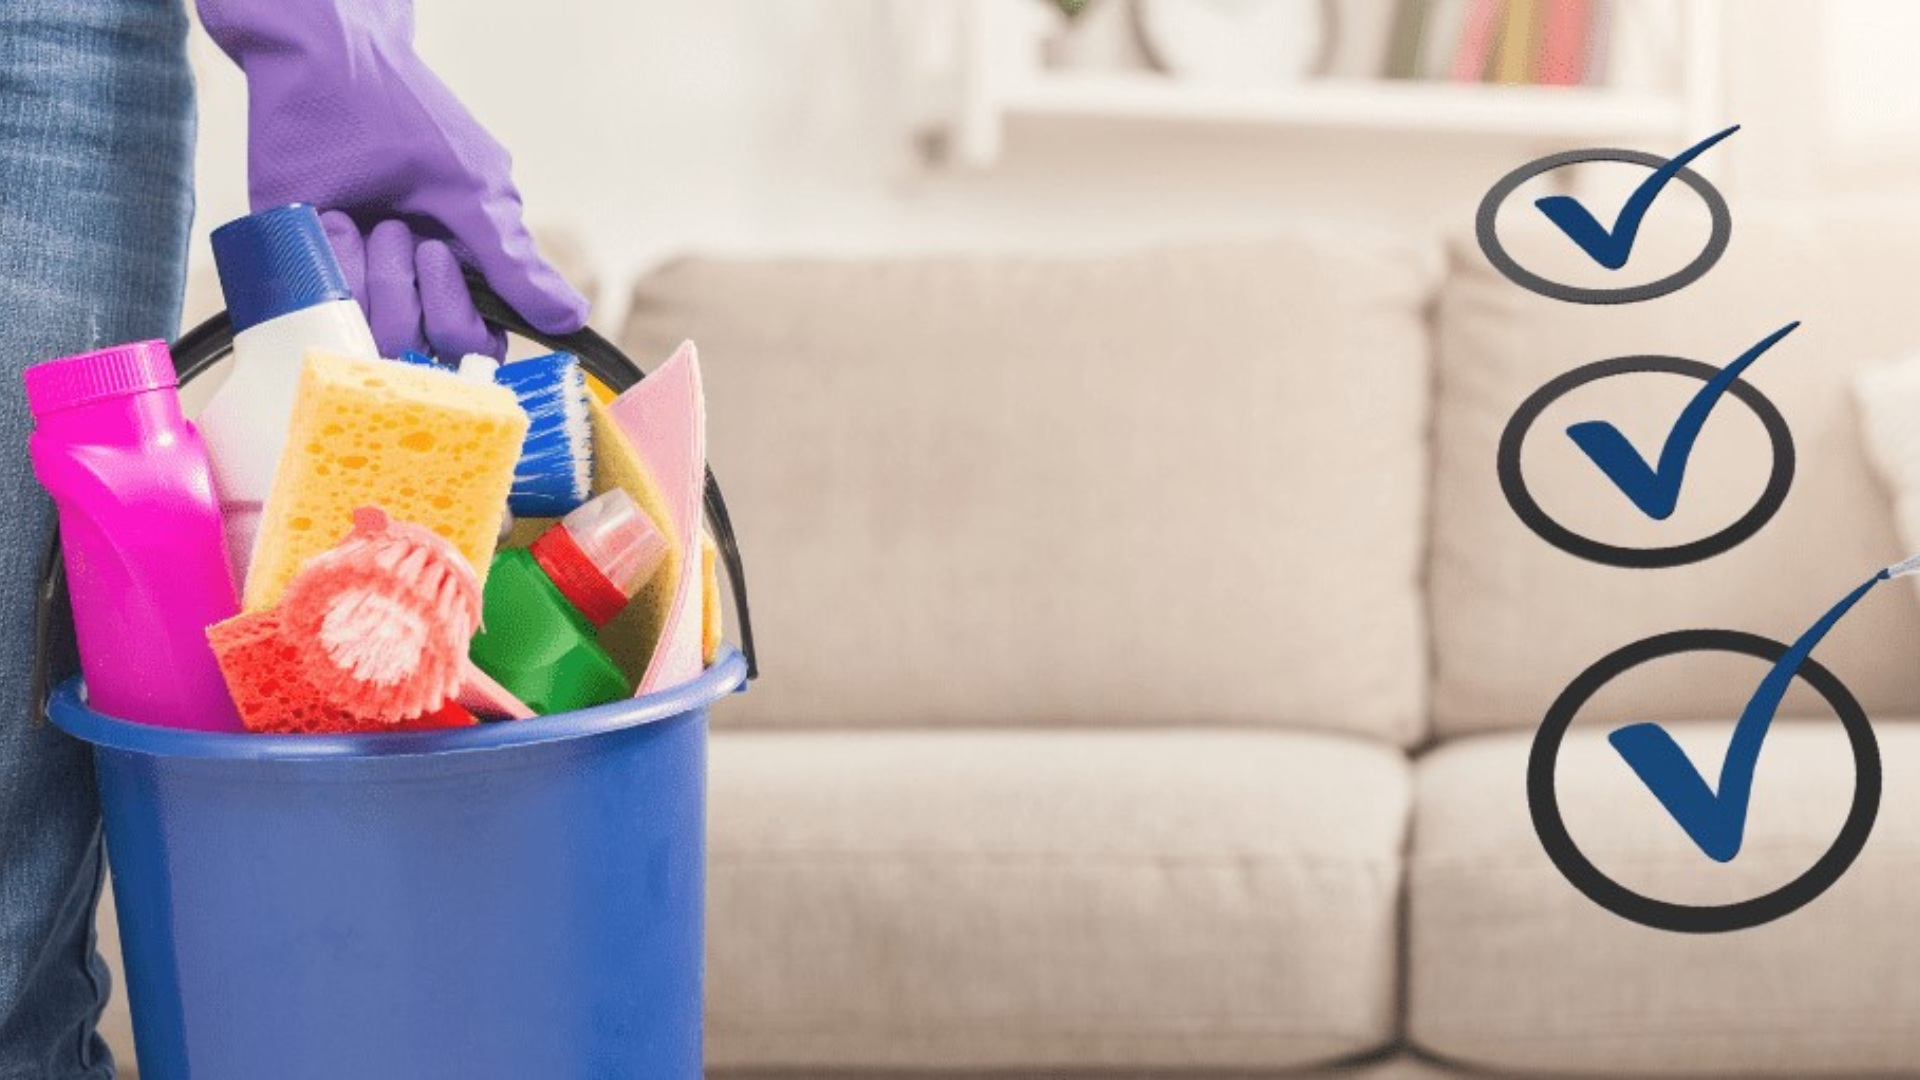
B. Use appropriate cleaning supplies and equipment
Stock up on necessary supplies:
Purchase or gather all the required cleaning products and tools, such as detergents, brushes, mops, and vacuum cleaners, to make the cleaning process more efficient.
Choose eco-friendly products when possible:
Opt for environmentally friendly cleaning solutions to minimize your environmental impact and maintain a healthy living space.
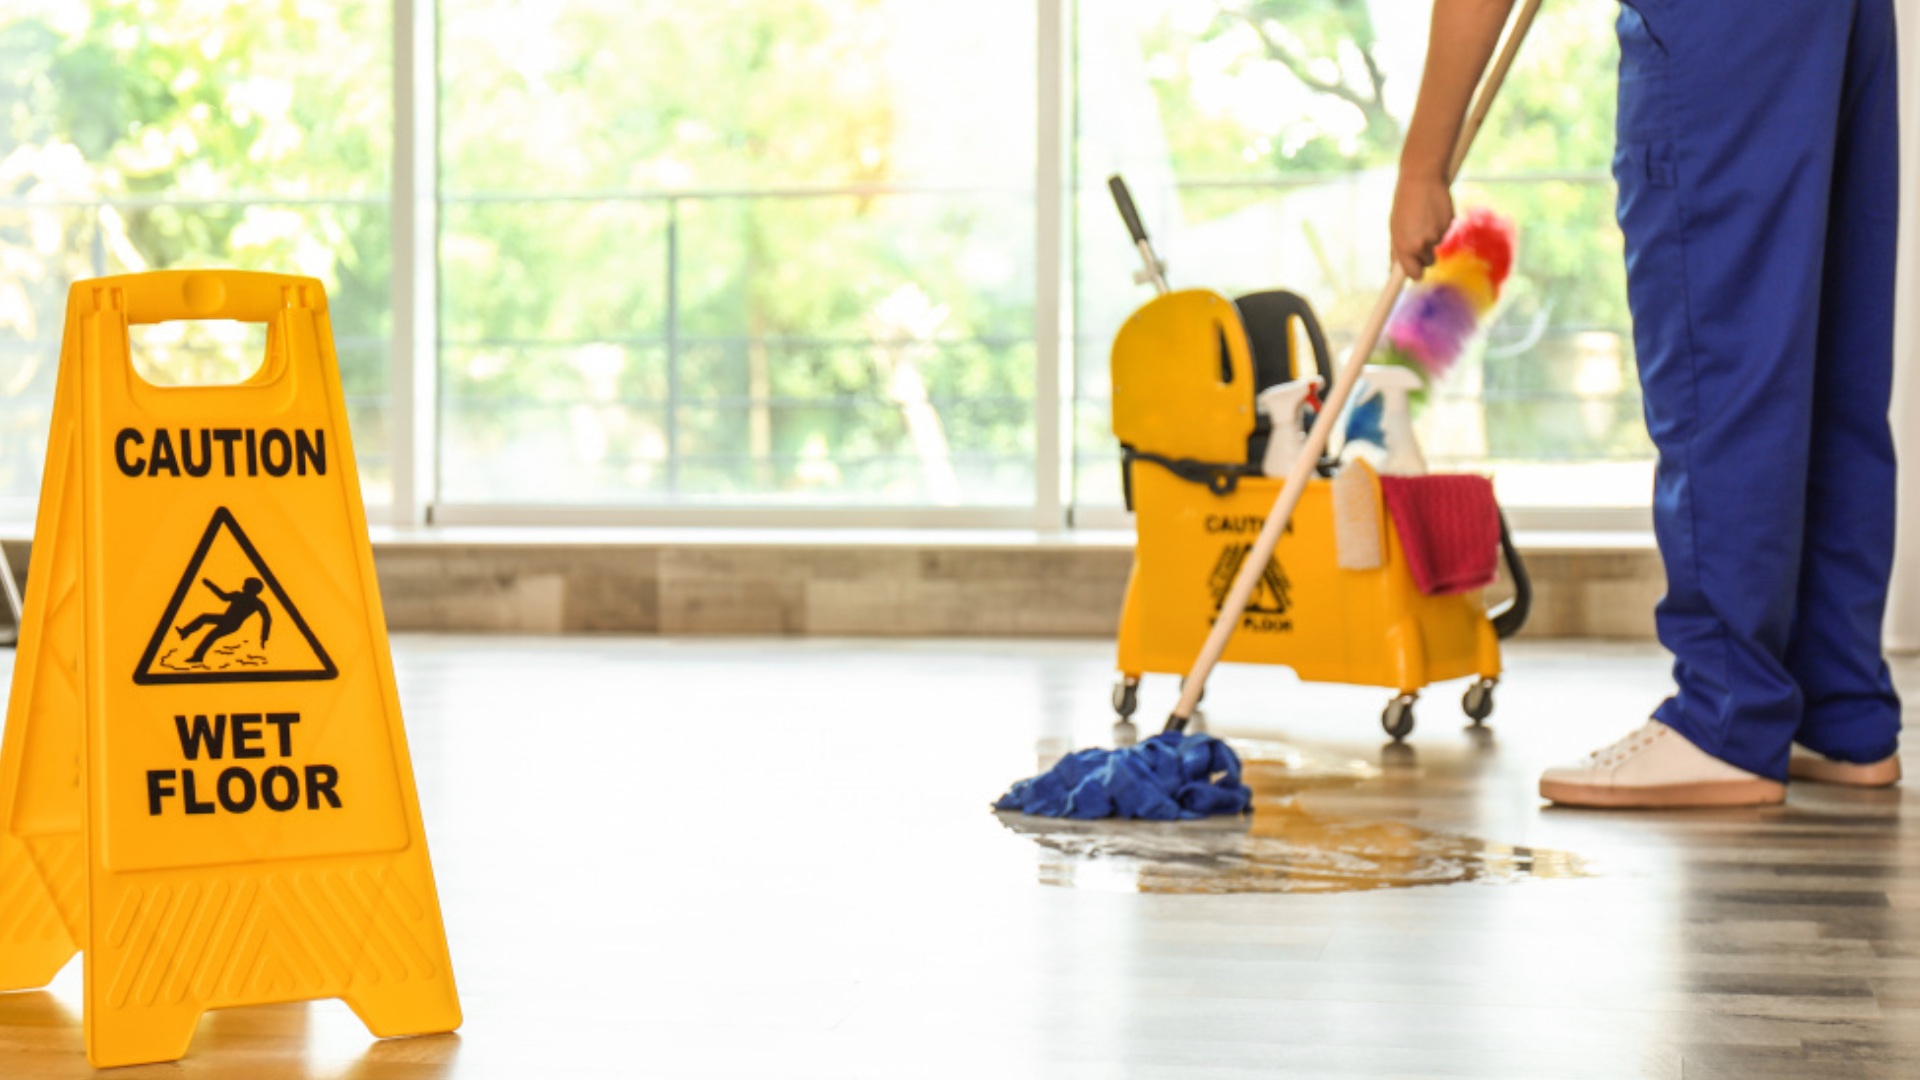
C. Focus on high-traffic areas and commonly overlooked spaces
Pay attention to kitchens, bathrooms, and living areas:
These rooms tend to accumulate the most dirt and grime. Ensure a deep clean of countertops, sinks, showers, and floors in these spaces.
Address spots like baseboards, light fixtures, and inside appliances:
Clean often-neglected areas, such as baseboards, light switches, and the insides of ovens and refrigerators, to demonstrate your commitment to a thorough cleaning.
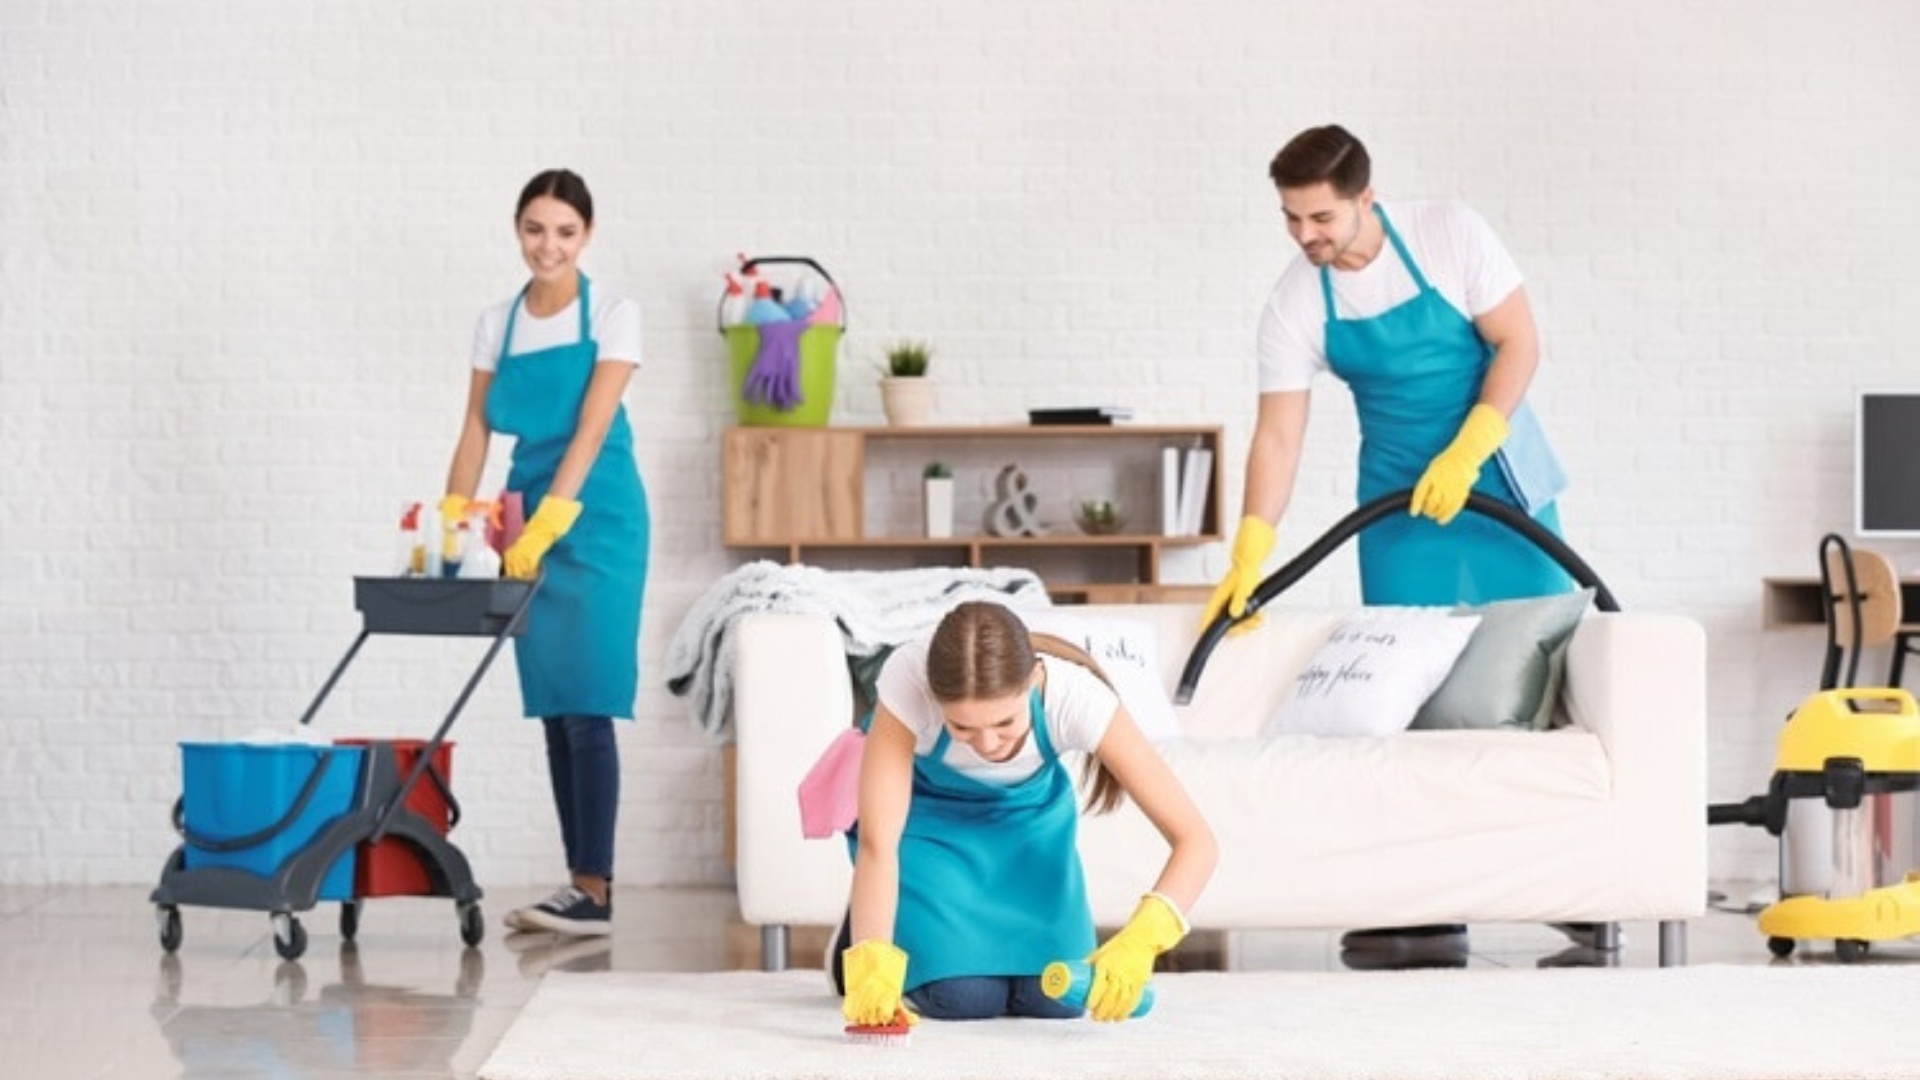
D. Seek professional help if needed
Research reliable cleaning services:
If you’re short on time or unsure about tackling the cleaning process yourself, consider hiring a reputable end-of-lease cleaning company.
Obtain quotes from multiple companies:
Compare prices and services from several cleaning providers to ensure you receive the best value and quality.
E. Communicate with your landlord
Inform them of your cleaning plans:
Keep your landlord in the loop about your intentions to clean the property and any professional services you plan to hire.
Arrange a final walk-through:
Schedule a time for your landlord to inspect the property after the cleaning is complete. This allows both parties to address any concerns and finalize the end-of-lease process.
“Don’ts” Of End Of Lease Cleaning
The Don’ts include:
A. Don’t leave it to the last minute
Avoid procrastination and stress:
Starting your end-of-lease cleaning early can help prevent unnecessary stress and ensure a more efficient process.
Allocate enough time for unforeseen complications:
By beginning the cleaning process ahead of time, you can address any unexpected issues that may arise without jeopardizing your move-out date.
B. Don’t neglect outdoor areas and storage spaces
Ensure that balconies, patios, and garages are clean:
Pay attention to outdoor living spaces and storage areas, as these are often overlooked during end-of-lease cleaning.
Remove personal items and debris:
Clear out any remaining belongings and dispose of any waste to leave these spaces clean and tidy.
C. Don’t forget to document the property’s condition
Take before and after photos:
Capture images of each room and specific areas before and after cleaning to have a visual record of the property’s condition.
Keep records for potential disputes:
Maintain documentation, such as receipts for professional cleaning services or proof of repairs, to support your case in case of any disagreements with your landlord.
D. Don’t ignore your landlord’s cleaning guidelines
Adhere to any specific requirements:
Follow your landlord’s stipulated cleaning guidelines to ensure you meet their expectations and avoid any conflicts.
Address any areas of concern:
If your landlord has pointed out particular areas that need extra attention, make sure to prioritize those tasks during the cleaning process.
E. Don’t perform any repairs without permission
Consult your landlord for any necessary repairs:
If you notice any damage or issues that require repair, inform your landlord before taking any action.
Avoid causing further damage:
Refrain from attempting repairs on your own unless you have the necessary skills and your landlord’s approval, as this can lead to additional issues and potential liability.
Conclusion:
Don’t forget to clean the oven, fridge, and other appliances thoroughly. Secondly, do hire a professional cleaning service if you’re short on time or don’t have the necessary cleaning equipment. However, don’t forget to check their credentials and reviews before hiring them.
Lastly, do take before and after photos of the property to document its condition. Don’t leave any cleaning tasks unfinished, as this could result in deductions from your security deposit. By following these do’s and don’ts, you can ensure a stress-free end of lease cleaning experience.
In a nutshell, end-of-lease cleaning is your ticket to a hassle-free rental farewell. By embracing the do’s and steering clear of the don’ts, you can secure your full security deposit and leave your landlord smiling. Just remember: plan ahead, be thorough, and communicate openly. Happy cleaning!
FAQs
What is end-of-lease cleaning?
End-of-lease cleaning, also known as move-out cleaning, is the process of thoroughly cleaning a rental property before the lease ends. This ensures the property is returned to the landlord in a satisfactory condition, increasing the likelihood of receiving the full security deposit back.
How do I properly plan for end-of-lease cleaning?
Begin by creating a checklist of tasks to be completed, room by room. Allocate sufficient time for cleaning and tackle the process in stages. Consult your landlord’s guidelines or seek professional help if needed.
Are there specific areas I should focus on during end-of-lease cleaning?
Pay particular attention to high-traffic areas, such as kitchens and bathrooms, as well as commonly overlooked spaces like baseboards, vents, and light fixtures. Address any concerns raised by your landlord.
How important is documenting the property’s condition?
Documenting the property’s condition with before and after photos and keeping records of your cleaning efforts can serve as valuable evidence in case of disputes regarding the property’s cleanliness or potential damages.
Can I perform repairs on my own during end-of-lease cleaning?
Always consult your landlord before attempting any repairs. Unauthorized repairs could potentially cause more harm than good, and it’s essential to seek your landlord’s guidance and approval before undertaking any repairs.